Porcelain tile is one of the most durable and versatile flooring options available today. For homeowners and business owners searching for a porcelain tile store in Texas, it is important to find a provider that offers quality, variety, and expert guidance. At Wayne’s Carpet & Oak Flooring, we specialize in helping customers select the right porcelain tile for their spaces while providing professional installation services that last.
Table of Contents
- Understanding Porcelain Tile
- Why Porcelain Tile is Popular in Texas
- Why Choose Wayne’s Carpet & Oak Flooring
- FAQs
- Ready to Transform Your Space?
Understanding Porcelain Tile
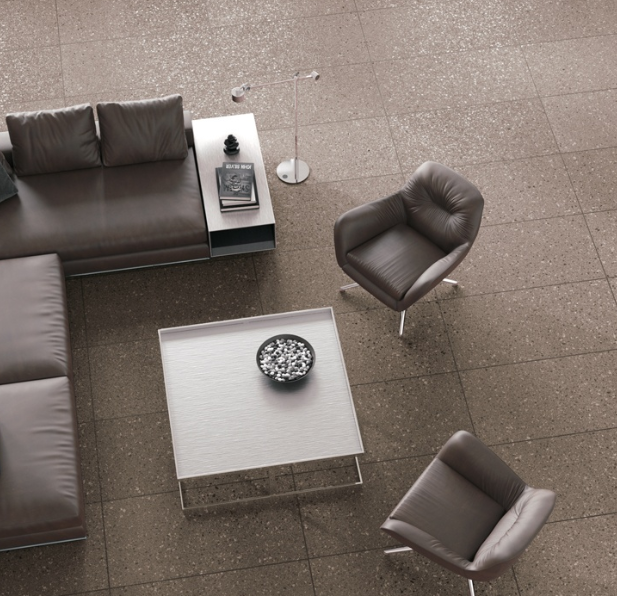
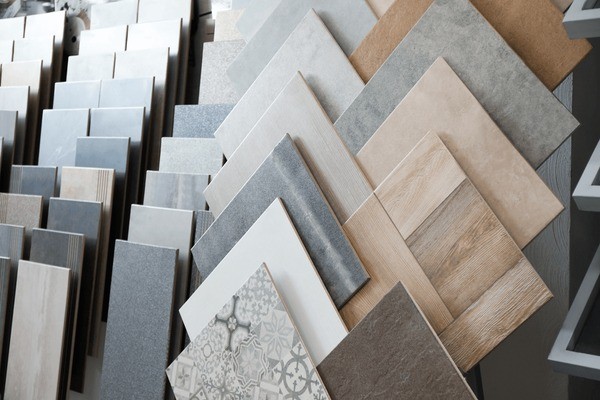
Porcelain tile is made from dense clay and fired at high temperatures. This makes it stronger and more water resistant than standard ceramic tiles. Customers looking for porcelain tile in Texas can choose from:
• Various sizes including large format tiles for modern spaces
• Different textures and finishes such as matte, polished, and wood look
• Colors and patterns suitable for both traditional and contemporary interiors
• Durable options that withstand heavy foot traffic and moisture
Proper selection and installation are key to maximizing the life and beauty of porcelain tile. Professional guidance ensures that the tile complements the space while maintaining durability over time.
Why Porcelain Tile is Popular in Texas
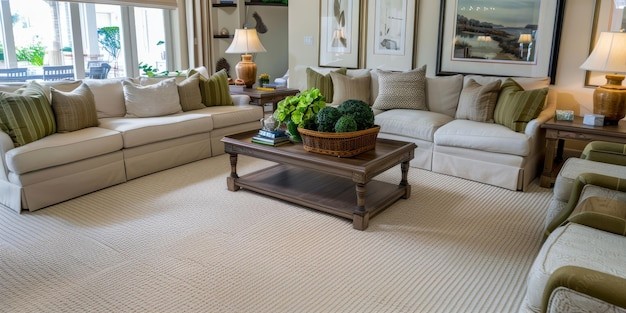
Texas homes and businesses face unique climate conditions. Porcelain tile performs well under temperature fluctuations, high humidity, and heavy use. Its low maintenance and easy cleaning make it a practical choice for kitchens, bathrooms, living areas, and commercial spaces. Customers also value the aesthetic appeal, which can mimic natural stone or wood while offering long-lasting durability.
Why Choose Wayne’s Carpet & Oak Flooring
Wayne’s Carpet & Oak Flooring is your trusted partner for porcelain tile in Houston Texas.
• Over 40 years of experience in flooring solutions
• Wide selection of porcelain tiles from trusted brands
• Professional consultation and in-home measurements
• Expert installation for residential and commercial properties
• Commitment to customer satisfaction and long-lasting results
FAQs
Q: Can porcelain tile be used outdoors?
A: Yes, many porcelain tiles are suitable for outdoor use due to their strength and moisture resistance.
Q: How do I maintain porcelain tile?
A: Regular sweeping and occasional mopping with a mild cleaner keep porcelain tile looking new.
Q: What is the difference between porcelain and ceramic tiles?
A: Porcelain tiles are denser, stronger, and more water resistant than ceramic tiles.
Ready to Transform Your Space?
Upgrade your home or business with high-quality porcelain tile from Wayne’s Carpet & Oak Flooring. Schedule your free in-home consultation today and let our experts help you choose the perfect tile for your space. Don’t wait to enhance your floors with style, durability, and professional installation, contact us now to get started!